
How to Create a Vintage-Inspired Gallery Wall (Step-by-Step + Frame Styling Tips)
Bring character to any room with a collected-over-time look. This guide walks you from choosing art to flawless hanging—plus pro tips for mixing antique frames, mats, and layouts.
What You’ll Need
Assorted vintage art (prints, oil paintings, sketches, mirrors), a mix of frames (gilded, black, walnut, ornate), acid-free mats, painter’s tape, kraft paper or old newspaper for templates, measuring tape, level or laser line, pencil, hanging hardware (D-rings, picture wire, hooks), and felt pads.
Plan Your Story
Vintage-inspired doesn’t mean random. Start with a theme that quietly repeats: botanical etchings, sepia travel photos, maritime prints, or family portraits. Pick a restrained palette—warm creams, tobacco, black, and brass feel timeless.
Centerline Formula: For natural viewing, aim for an artwork centerline at 145–152 cm (57–60") from the floor. Over a sofa or console, keep the bottom row 15–25 cm (6–10") above the furniture.
Popular Layout Styles
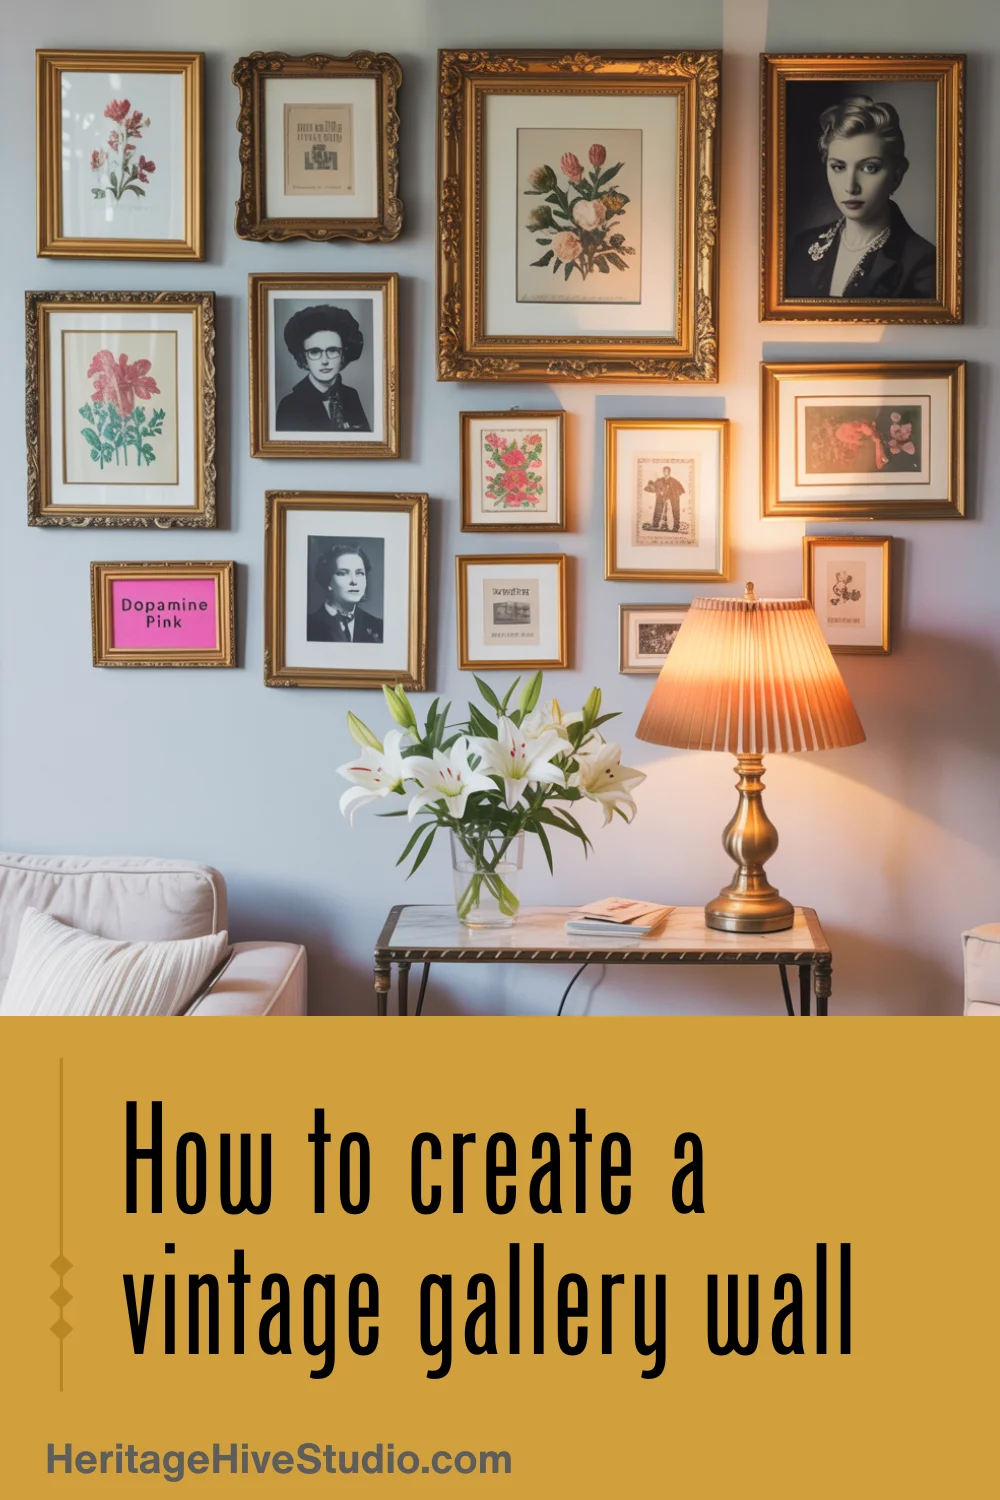
Salon-Style (Collected & Eclectic): Mix sizes and orientations for that old-world, “found over time” charm. Keep spacing consistent—5–8 cm (2–3")—and balance visual weight by alternating dark frames and large pieces across the wall.
Classic Grid (Crisp & Calm): Use matching frames and mats (or at least matching mat widths) with tight spacing—3–5 cm (1–2"). Perfect for vintage photos or etchings of similar size.
Linear Ledge (Flexible & Easy): Install picture ledges and layer frames. This mimics the feel of a vintage print shop and lets you swap art seasonally without new holes.
Step-by-Step Hanging Guide
Step 1: Curate & Edit — Gather 1.5× more pieces than you expect to use. Lay everything on the floor, then remove anything that repeats too closely in size or tone. Keep one true focal piece.
Step 2: Choose a Cohesive Thread — Unify the mix with one repeating element: matching mat width (e.g., 5 cm), a dominant frame finish (antique brass), or a repeated subject (botanical prints).
Step 3: Map the Layout on the Floor — Build outward from your focal piece. Stagger sizes and alternate orientations. Snap a photo to check balance—if one corner feels heavy, swap a darker frame to the opposite side.
Step 4: Make Paper Templates — Trace each frame onto kraft paper and mark the hanging point(s). Tape templates to the wall with painter’s tape. Adjust until the composition feels balanced and level.
Step 5: Lock in Spacing — Pick your spacing (usually 5–8 cm). Cut a cardboard spacer that size and use it between templates to keep gaps uniform as you fine-tune.
Step 6: Measure the Centerline — Mark a horizontal centerline on the wall at 145–152 cm. Align the middle of your arrangement to this line, or visually center above furniture.
Step 7: Install Hardware — For stability, add D-rings ⅓ down from the top rail and hang with picture hooks suited to the frame’s weight. Use felt pads to prevent wall marks and subtle tilting.
Step 8: Hang, Level, and Micro-Adjust — Start with the focal piece, then work outwards. Step back often. Tiny rotations make a big difference; a mini level placed on the frame is your best friend.
Frame Styling Tips for a Vintage Look
Mix Finishes with Intention: Select one hero finish (e.g., antique brass) and support it with one or two sidekicks (warm walnut, matte black). Aim for a 60/30/10 ratio across the wall.
Use Mats to Add Breathing Room: Acid-free mats in off-white or bone create a museum feel. Keep mat widths consistent (e.g., 5 cm) to unify mixed frames. Float-mount deckled prints for an archival vibe.
Age Gracefully: Patina is part of the charm. Light scratches or foxing spots can stay. If needed, tone shiny new frames with subtle antiquing wax (test first).
Play with Scale: Anchor the arrangement with one larger piece (e.g., 60–80 cm wide), then orbit smaller frames around it. Insert one tiny miniature for surprise—it makes the wall feel collected.
Mind the Subject Mix: Alternate portraits, landscapes, and typography. Group similar subjects in small clusters (e.g., three botanicals together) to create rhythm.
Mirrors as Light Makers: Antique mirrors break up dense arrangements and bounce light. Oval or gilded mirrors add period charm without adding another image.
Finishing Touches
Dimmer-controlled sconces or picture lights warm up vintage paper tones. A nearby plant or brass object on a console echoes frame finishes and ties the vignette together.
Pro Tip: Photograph your wall at night and in daylight. Reflections and shadows reveal frames that need tiny height or angle tweaks.
Free Checklist: Curate (theme + palette) → Map on floor → Paper templates → Choose spacing → Centerline mark → Hardware install → Hang & level → Style lighting.
FAQs
How many pieces do I need? For a sofa wall, 7–11 pieces usually fill the space without feeling cluttered. For a hallway, choose a tighter grid of 4–8.
What if my frames are all different sizes? Keep mat widths and spacing consistent. Place the largest frame near the visual center and orbit smaller frames around it to balance weight.
Is it okay to include modern art? Absolutely. Eclectic mixes feel authentic. Use classic frames or off-white mats to blend eras seamlessly.