

DIY Vintage-Style Upholstered Chairs
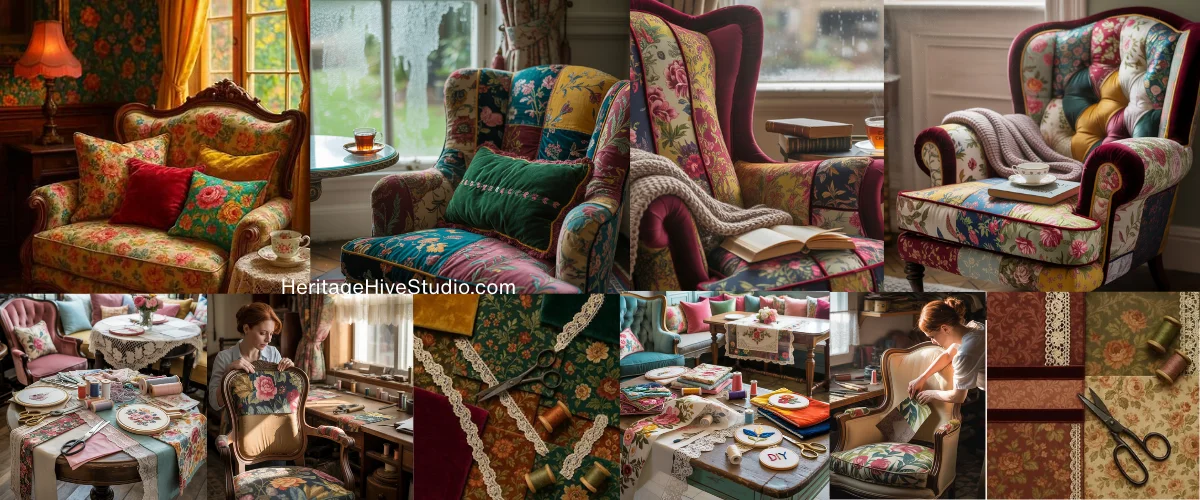
There’s something magical about a beautifully upholstered vintage-style chair. I mean, just look at the one in the photo here —rich jewel tones, bold florals, velvet textures, and an elegance that makes you want to curl up with a book and a cup of Earl Grey while rain taps against the window.
I’ll admit it—I’m obsessed. These chairs aren’t just seating; they’re a whole vibe. They instantly transform a corner into a sanctuary, a spot that feels both luxurious and cozy. And the best part? You don’t need to spend thousands to get the look. With a little creativity, some fabric, and a bit of DIY spirit, you can bring this vintage-inspired aesthetic into your own home—even on a budget.
Note: This post contains Amazon affiliate links. We may earn a small commission at no extra cost to you, helping us keep Heritage Hive Studio creative.
How to DIY the Look
Bold florals, jewel-toned velvets, and cushion layering that turns a simple armchair into a luxurious reading nook—without the luxury price tag.
Contents
The Aesthetic: Bold, Cozy, and Nostalgic
- Florals & Pattern Play: Oversized blossoms and leafy motifs feel timeless.
- Velvet Luxe: Jewel-tone velvets add softness and richness.
- Contrasting Piping: A neat outline whispers “custom.”
- Eclectic Trim: Braids, fringe, or embroidery push the look to collector-worthy.
Cushion Layering That Makes It Luxe
Cushions are the secret sauce—depth, comfort, and vintage drama. Try this trio:
1) The Pattern Hero
A floral or embroidered 18–20″ square to tie the fabric story.
2) The Velvet Show-stopper
Tufted or buttoned cushion (16–18″ or a plush lumbar) in a jewel tone. Contrast piping = small detail, big impact.
3) The Accent Piece
Smaller (12–14″) metallic-thread, braided, or trimmed cushion for chic finish.
Step-by-Step: DIY the Vintage Chair Look
1) Find Good Bones
Look for a sturdy hardwood frame, tight arms, and quiet springs. Cosmetic flaws are fine—where the magic happens.
2) Choose Durable Fabric
- Upholstery weight 12–16 oz or 30,000+ rubs.
- Florals, damask, or jewel-tone velvet.
- Check remnant bins for deals.
3) Tools You Need
Staple gun, staples, fabric scissors, pliers, screwdriver, seam ripper, chalk, tape measure, and optional foam/batting.
4) Reupholster Basics
- Remove old fabric carefully and save pieces as templates.
- Replace foam/batting if sagging.
- Cut new fabric, align patterns, and staple neatly from the center outward.
- Add piping, trims, or buttons for polish.
- Finish with a neat dust cover underneath.
5) No-Sew / Low-Commitment Options
- Slipcover a tired seat and let bold cushions carry the look.
- Use upholstery-grade fabric glue for trims if you’re not ready to sew.
Budget Breakdown
- Thrifted Armchair: $30–$100 • Solid frame matters more than fabric.
- Fabric (3–5 yards): $50–$120 • Hunt for clearance remnants.
- Staple Gun & Staples: $20 • Tool you’ll reuse.
- Foam & Batting (optional): $30–$60 • Replace if sagging.
- Trims & Buttons: $10–$30 • Small details, big impact.
- Cushions: $15–$50 each • Mix velvet, tufted, embroidered.
✨ Typical Total: $150–$300 for a unique statement chair with cushions
Set the Scene
Rainy afternoon. Your vintage-style chair by the window, layered with a velvet lumbar and floral cushion. You sink in with tea and a book—the world slows down.
FAQs
How do I mix patterns?
Let one floral lead, echo its color in a cushion, and vary scale for harmony.
What if the chair has curves?
Use more staples, clip fabric at curves, and bias-cut piping for smooth lines.
How to stop cushions sliding?
Add discreet ties, a thin grippy pad cut to size, or sew a non-slip strip underneath.